Severe Bleeding First Aid: What to Do
· 8 min read · David Onori
A person can lose a dangerous amount of blood in only a few minutes. Knowing what to do during severe bleeding can help keep someone alive until emergency medical services arrive.
The most important priorities are simple: stay safe, call 911, and apply firm, continuous pressure to the source of bleeding. Red Cross and HSI training programs also teach wound packing and tourniquet use when appropriate.
This guide provides general education only. It is not a substitute for emergency medical care or hands-on instruction. If someone is experiencing severe bleeding now, call 911 immediately and follow the dispatcher’s instructions.
How to Recognize Life-Threatening Bleeding
Bleeding may be life-threatening when you see one or more of the following:
- Blood is flowing continuously or spurting.
- Blood is pooling on the ground or furniture.
- Clothing, towels, or dressings are rapidly becoming saturated.
- There is a large amount of blood, approximately half a soda can or more. A smaller amount can be dangerous for an infant or small child.
- The person is pale, cool, weak, confused, dizzy, or unusually sleepy.
- The bleeding comes from a deep wound, amputation, or injury to an area such as the groin, armpit, neck, or scalp.
Do not wait for bleeding to become dramatic before taking action. When in doubt, treat the situation as an emergency.
Step 1: Check Scene Safety
Before approaching, look for hazards that could injure you or others:
- Traffic or moving vehicles
- Fire, smoke, electrical wires, or dangerous equipment
- Weapons or ongoing violence
- Broken glass or other sharp objects
- Chemical exposure or other environmental dangers
If the scene is unsafe, move to a safe location and wait for trained responders when possible. Do not become another injured person.
If available, put on disposable gloves. If gloves are not available, use a plastic bag or another barrier. However, do not delay life-saving care while searching for protective equipment.
Introduce yourself, ask for consent if the person is conscious, and tell them that you are going to help.
Step 2: Call 911 and Get Supplies
Call 911 or your local emergency number as soon as possible. If other people are present, give clear assignments:
- “You call 911 and put the phone on speaker.”
- “You bring the bleeding control kit.”
- “You guide the ambulance to this location.”
Tell the dispatcher that the person has severe bleeding. Describe the location of the wound, whether the person is conscious and breathing normally, and what care you are providing.
Gather gauze, a clean cloth, a pressure dressing, a commercial tourniquet, or a bleeding control kit if available.
Step 3: Apply Firm, Direct Pressure
Expose the wound by cutting or moving clothing out of the way. Place gauze, a hemostatic dressing, or the cleanest available cloth directly over the bleeding source.
Press firmly and continuously with both hands. Use your body weight if necessary. Keep the injured body part on a firm, flat surface when possible.
Do not repeatedly lift the dressing to check whether the bleeding has stopped. Maintain pressure until:
- The bleeding stops.
- A properly applied tourniquet controls a life-threatening limb bleed.
- Another person relieves you.
- You are too exhausted to continue.
- The scene becomes unsafe.
If blood comes through the first dressing, leave it in place and add one additional dressing on top while continuing pressure. Avoid repeatedly stacking multiple loose dressings, which can make it harder to apply effective pressure.
If bleeding begins again after a bandage has been secured, remove the outer bandage while leaving the dressing over the wound in place. Return to firm, direct manual pressure.
Step 4: Pack a Deep Wound When Appropriate
Wound packing may be needed when the wound is deep and direct surface pressure is not controlling the bleeding. It is especially important for areas where a tourniquet cannot be used effectively, including the groin, armpit, shoulder, scalp, neck, back, or buttock.
Wound packing should be performed by someone who has received appropriate hands-on training.
To pack a wound:
- Use sterile gauze or hemostatic gauze if available. If not, use the cleanest cloth available.
- Push the gauze firmly into the wound cavity with your fingers, directing it toward the source of bleeding.
- Continue feeding gauze into the cavity until it is filled. Do not simply cover the opening with loose material.
- Place additional gauze over the packed wound.
- Apply strong, continuous pressure with both hands.
- Keep the packing and pressure in place until EMS takes over.
Do not remove wound packing to inspect the injury. If the dressing becomes saturated, maintain pressure and follow dispatcher instructions.
If an object is embedded in the wound, do not remove it. Apply pressure around the object and build dressings around it to stabilize the area. A tourniquet, if needed for a limb injury, must be placed above the object and not over it.
Step 5: Apply a Tourniquet for Life-Threatening Limb Bleeding
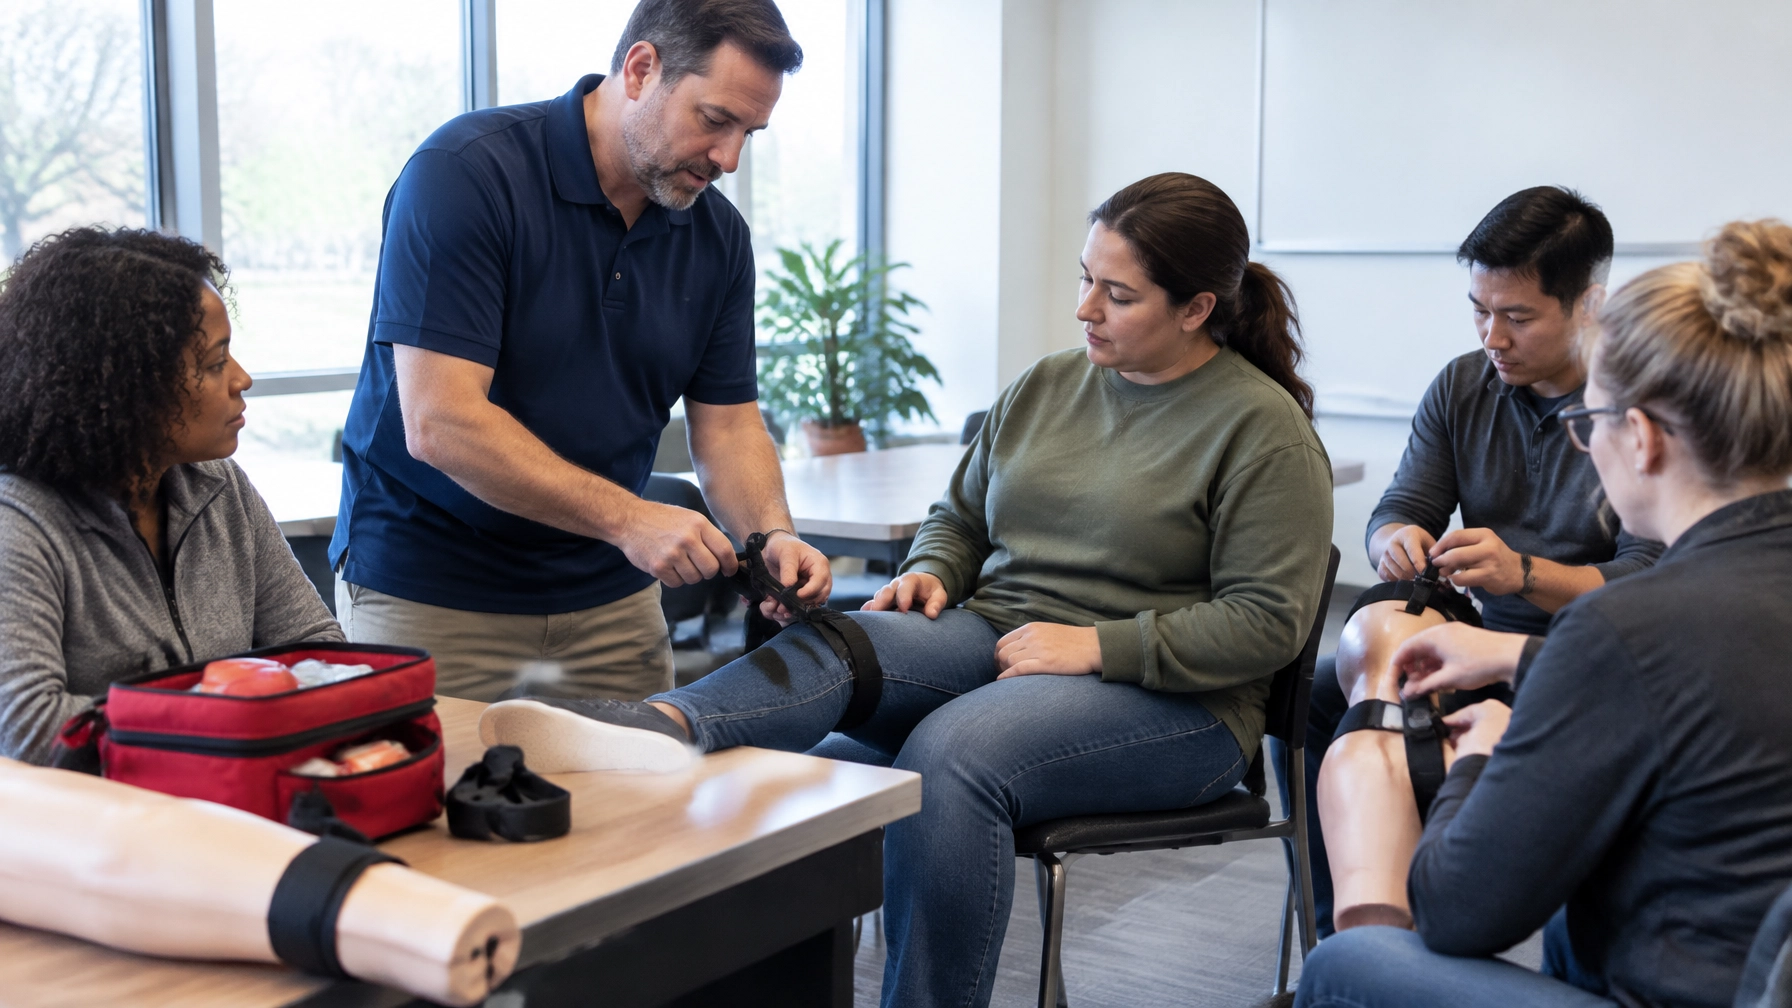
A tourniquet is used for life-threatening bleeding from an arm or leg when direct pressure does not stop the bleeding or cannot be maintained effectively. Red Cross and HSI programs emphasize using a commercial, manufactured tourniquet when one is available.
Follow the manufacturer’s instructions for the specific device. In general:
- Continue direct pressure while preparing the tourniquet.
- Place it approximately 2–3 inches above the wound, between the wound and the person’s heart.
- Never place it directly over the wound or over a joint such as the knee or elbow.
- Tighten the tourniquet until the bleeding stops. This may be painful, but adequate tightening is necessary.
- Secure the device so it cannot loosen.
- Note the time it was applied and tell EMS.
- Do not loosen, adjust, or remove it. Only medical professionals should do that.
If the first tourniquet is tightened as much as possible but bleeding continues, a second commercial tourniquet may be needed above the first, closer to the torso. Continue following dispatcher instructions.
Improvised tourniquets are a last resort when no manufactured device is available and direct pressure has failed. They should be used only by someone who has been trained and practiced the technique. Thin cords, wire, and narrow materials can cause additional injury and are generally not appropriate.
Step 6: Care for Shock While You Wait
Severe blood loss can lead to shock. Signs may include:
- Pale, gray, cool, or moist skin
- Rapid breathing
- A rapid or weak pulse
- Weakness, dizziness, or confusion
- Thirst or altered responsiveness
Have the person lie flat if it is safe to do so. Keep them warm with a blanket or coat, but do not overheat them. Reassure them and limit unnecessary movement.
Do not give food, drink, or medication. Continue monitoring breathing and responsiveness. If the person becomes unresponsive and is not breathing normally, begin CPR if you are trained and follow the 911 dispatcher’s directions.
Special Considerations for Children
The same basic bleeding-control priorities apply to children: scene safety, 911, direct pressure, wound packing when trained, and tourniquet use for life-threatening limb bleeding.
Children and infants have smaller blood volumes, so a relatively small amount of blood loss can become dangerous quickly. Call 911 early, control the bleeding promptly, keep the child warm, and provide calm reassurance.
For children approximately 2 years of age and older, Red Cross and HSI training practices generally support the use of an appropriately sized commercial tourniquet for life-threatening extremity bleeding. Infants and very young children require special care. Follow dispatcher instructions and use only equipment and techniques covered in your training.
Common Mistakes to Avoid
- Delaying 911 while searching for supplies
- Approaching an unsafe scene
- Applying weak or intermittent pressure
- Lifting the dressing repeatedly to check the wound
- Removing the first dressing unnecessarily
- Pulling out an embedded object
- Placing a tourniquet over a joint or directly over the wound
- Loosening a tourniquet after bleeding stops
- Removing wound packing before EMS arrives
- Giving food or water to a seriously injured person
- Leaving the injured person alone when another helper is available
Build Confidence Before an Emergency
Severe bleeding emergencies are stressful. Hands-on practice can help you respond faster and more confidently when every second matters.
I provide Stop Life-Threatening Bleeding and First Aid training based on recognized Red Cross and HSI training practices. My instruction focuses on practical skills, including direct pressure, wound packing, tourniquet application, shock awareness, and communication with emergency services.
I offer mobile, on-site training and blended options that combine online learning with practical in-person skills sessions. Training can be scheduled for individuals or groups at workplaces, schools, daycares, fitness centers, healthcare facilities, and community locations throughout San Diego County, Temecula, Murrieta, Menifee, and Lake Elsinore.
To schedule an appointment-only class, visit my courses or contact me. Please include the dates you want, participant count, and training type, such as Stop Life-Threatening Bleeding, First Aid, or a blended course.
Further Reading
- American Red Cross: Life-Threatening External Bleeding
- American Red Cross: How to Apply a Tourniquet
- American Red Cross: First Aid for Severe Trauma (FAST)
- HSI: Stop Life-Threatening Bleeding
- HSI: Emergency Bleeding: How to Stop the Bleed Until Help Arrives
Explore Topics
Written by
David Onori
David Onori is a Trained Emergency Medical Responder (EMR) and Red Cross & HSI certified CPR and First Aid instructor serving Temecula, Murrieta, San Diego, and surrounding Southern California communities. He is a member of the Red Cross Ready Rating Business program. Every class is taught onsite — he comes to you.