How to Put Someone in the Recovery Position: A Step-by-Step Guide
A practical, step-by-step guide to helping someone who is unresponsive but breathing normally, including when the recovery position is appropriate and when to call 911.
· 9 min read · David Onori
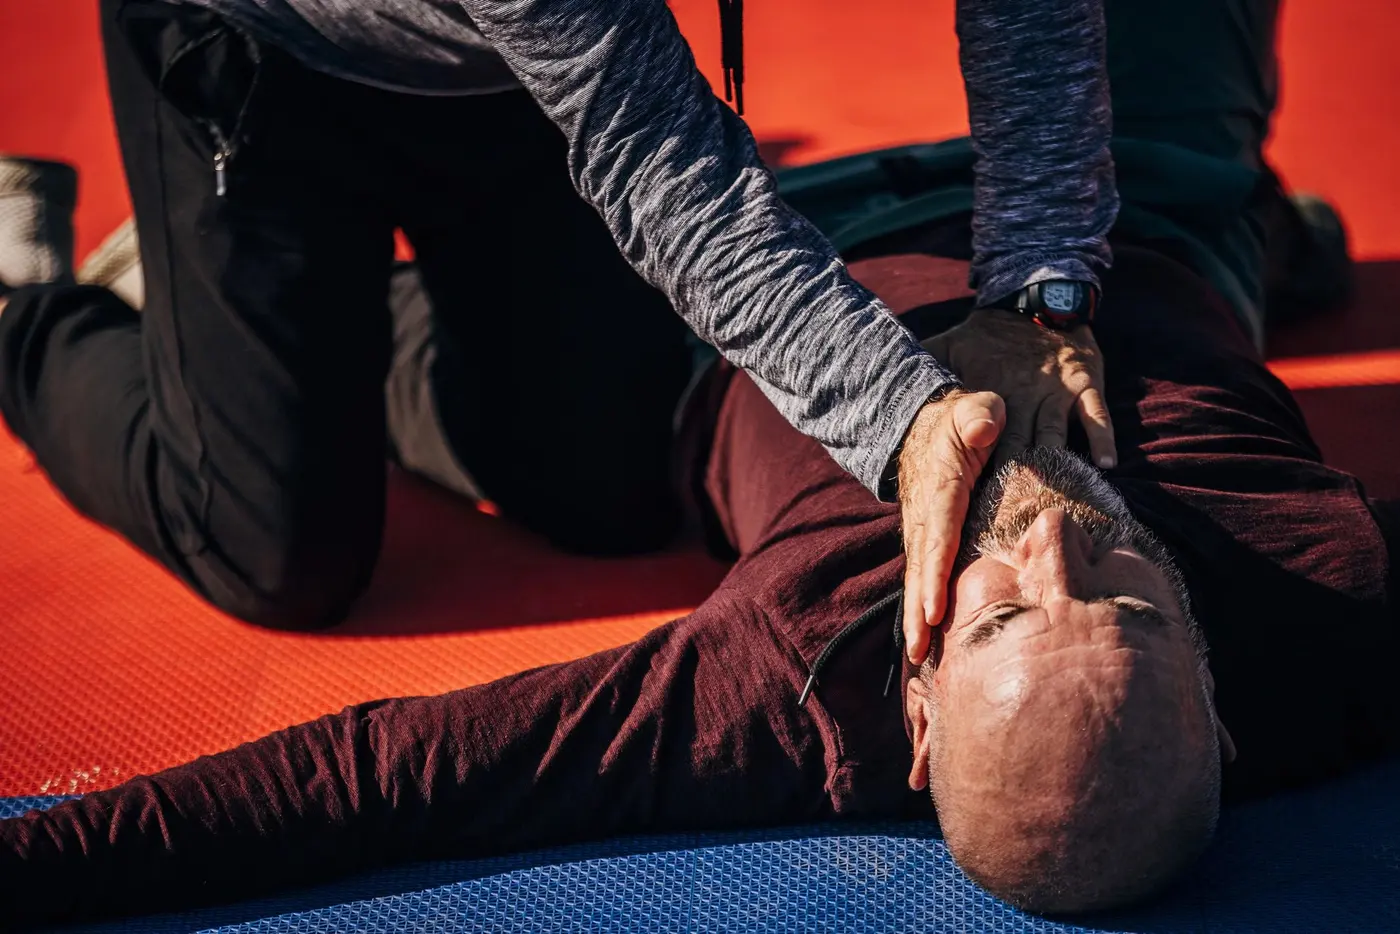
Seeing someone collapse or become unresponsive can be frightening. If the person is breathing normally, however, there is a simple first aid skill you can use while waiting for emergency medical help: the recovery position.
The recovery position places an unresponsive person on their side with their airway open and their face angled slightly downward. This can help fluids such as saliva or vomit drain from the mouth instead of blocking the airway.
It is a practical, real-world skill that parents, caregivers, teachers, employees, coaches, and community members can learn. The steps below are based on principles taught in American Red Cross and HSI first aid training programs.
Important: This guide is for an adult or child who is unresponsive but breathing normally and does not appear to have a serious injury. If the person is not breathing normally, is only gasping, or has life-threatening bleeding, call 911 and begin appropriate emergency care, including CPR when indicated.
What Is the Recovery Position?
The recovery position is a side-lying position used for someone who:
- Does not respond when you speak to or gently tap them
- Is breathing normally
- Does not have an obvious serious head, neck, back, or spinal injury
The position helps maintain an open airway and allows fluids to drain from the mouth. It also helps stabilize the person while you monitor their breathing and wait for emergency responders.
The recovery position is not a substitute for calling 911. An unresponsive person may have a serious medical problem even if they are breathing.
Step 1: Check the Scene and the Person
Before touching the person, quickly check whether the area is safe. Look for traffic, fire, electrical hazards, unstable structures, dangerous animals, or anything else that could put you at risk.
Then check responsiveness by speaking loudly and tapping the shoulder. Ask someone nearby to call 911 and get an AED if one is available. Check for normal breathing. Occasional gasps are not normal breathing.
Step 2: Decide Whether It Is Safe to Move Them
If you suspect a head, neck, back, hip, or pelvic injury, avoid moving the person unless the location is unsafe or you need to open the airway. Follow the dispatcher’s instructions and keep checking breathing.
Step 3: Position the Nearest Arm
Kneel beside the person. Move the arm closest to you out from the body and bend it at the elbow so the hand points upward.
Step 4: Place the Far Hand Against the Cheek
Take the far arm and bring it across the chest. Hold the back of that hand gently against the cheek closest to you.
Step 5: Bend the Far Knee
With your other hand, bend the knee farthest from you so the foot is flat on the ground. Keep the far hand against the cheek.
Step 6: Roll the Person Toward You
Gently pull the bent knee toward you and roll the person onto their side. Move them carefully, supporting the head as you turn them.
Step 7: Adjust the Head, Airway, and Legs
Tilt the head slightly back to help keep the airway open. Make sure the face and mouth angle downward so fluids can drain. Adjust the upper leg so the hip and knee are bent for stability. Keep checking that the person is breathing normally.
Step 8: Continue Monitoring Until Help Arrives
Stay with the person. Continue to monitor breathing and responsiveness, and be ready to roll them onto their back and begin CPR if they stop breathing normally. Keep them warm and reassure them if they regain consciousness.
Common Recovery Position Mistakes to Avoid
- Do not use it for someone who is not breathing normally. Call 911 and begin CPR as appropriate.
- Do not leave the person unattended. Keep monitoring their breathing until emergency help arrives.
- Do not give food, water, or medication to an unresponsive person.
- Do not move a potentially injured person unnecessarily. Follow emergency dispatcher guidance.
- Do not place pressure on the chest or obstruct the person's breathing.
What About Infants?
Infants require age-appropriate positioning and careful support. If an infant is unresponsive, call 911, check breathing, and follow dispatcher instructions. Take an infant first aid and CPR course to practice safe, age-specific techniques.
Build Confidence Through Hands-On Training
Reading the steps is a helpful start, but practicing with an instructor helps you build confidence and remember what to do under pressure. Code Blue Safety Skills offers mobile and blended First Aid, CPR/AED, and Pediatric First Aid training across San Diego County and the Temecula/Murrieta area.
Final Takeaway
For an unresponsive person who is breathing normally and does not have a suspected serious injury, the recovery position can help protect the airway while you wait for emergency responders. Call 911, monitor breathing continuously, and be ready to act if the person's condition changes.
Explore Topics
Written by
David Onori
David Onori is a Trained Emergency Medical Responder (EMR) and Red Cross & HSI certified CPR and First Aid instructor serving Temecula, Murrieta, San Diego, and surrounding Southern California communities. He is a member of the Red Cross Ready Rating Business program. Every class is taught onsite — he comes to you.