Choking First Aid: Step-by-Step Relief for Adults, Children & Infants
· 8 min read · David Onori
Choking can become life-threatening within minutes. When food, a small object, or another substance blocks the airway, a person may be unable to breathe, speak, cry, or cough effectively. Knowing what to look for — and what to do next — can help you respond with calm, confident action.
This beginner-friendly guide explains the basic choking response for adults, children, and infants. The steps are based on first aid practices taught through programs such as the American Red Cross and Health & Safety Institute (HSI). For hands-on instruction, always follow the procedures taught in your current course and the directions provided by emergency dispatchers.
Important: This article is for general education and is not a substitute for professional first aid training or emergency medical care. If someone is severely choking, call 911 immediately.
How to Recognize Choking
A person who is choking may look frightened, confused, or panicked. They may place one or both hands around their throat — the commonly recognized universal sign of choking.
Other possible signs include:
- Inability to speak, cry, or breathe
- A weak, silent, or ineffective cough
- High-pitched sounds when trying to breathe
- Pale, gray, or bluish skin
- Clutching the throat
- Sudden loss of consciousness
Not everyone will use the universal choking sign. If you are unsure, ask, “Are you choking?” If the person can answer, speak, or cough forcefully, the airway may only be partially blocked.
When to Encourage Coughing, and When to Act
If the person can cough forcefully, speak, or breathe, encourage them to continue coughing. Stay with them and watch closely in case their condition worsens.
Do not give back blows or abdominal thrusts while an adult or child is coughing effectively. A strong cough may clear the obstruction naturally, and unnecessary intervention could make the situation worse.
Act immediately when the person:
- Cannot cough effectively
- Cannot speak or make sounds
- Cannot breathe
- Has a weak or silent cough
- Shows signs of rapidly worsening distress
This is considered severe choking and requires emergency action.
The First Three Priorities: Check, Call, Care
HSI courses commonly organize emergency response using the Check–Call–Care approach:
- Check the scene for safety and assess the person.
- Call 911 or your local emergency number for severe choking.
- Care for the person using age-appropriate choking procedures.
If another person is nearby, direct them clearly: “You, call 911 and bring an AED.” Although the immediate focus is the blocked airway, an AED may be needed if the person becomes unresponsive and suffers cardiac arrest.
If you are alone, call 911 as soon as possible — preferably using speakerphone — while beginning care.
Choking First Aid for Adults and Children
For this guide, a child means a person approximately 1 year old through puberty. The general sequence is similar for adults and children, but use less force and adjust your position for the child's size.
Step 1: Position Yourself Safely
Stand to the side and slightly behind the person. For a small child, kneel behind them so you can maintain better balance and control.
Support their chest with one arm and bend them forward at the waist. Their upper body should angle toward the ground. This positioning helps the object move out through the mouth rather than deeper into the airway.
Step 2: Give Five Back Blows
Use the heel of your other hand to deliver five firm back blows between the person's shoulder blades.
Make each blow a separate attempt. After each one, quickly check to see whether the obstruction has cleared. Do not slap the person's neck or strike randomly across the back.
Step 3: Give Five Abdominal Thrusts
If the back blows do not clear the obstruction:
- Move behind the person.
- Place your arms around their waist.
- Make a fist.
- Position the thumb side of your fist in the middle of the abdomen, just above the navel and below the breastbone.
- Grasp your fist with your other hand.
- Give up to five quick inward-and-upward abdominal thrusts.
For a small child, kneel behind them and use controlled force appropriate for their size.
Step 4: Continue the Sequence
Continue alternating five back blows and five abdominal thrusts until the person:
- Expels the object
- Can breathe, speak, or cough effectively
- Becomes unresponsive
If the person becomes unresponsive, carefully lower them to the floor, call 911 if it has not already been done, and begin CPR according to your training.
When to Use Chest Thrusts Instead
Abdominal thrusts may not be appropriate for every adult. Use chest thrusts instead when:
- The person is obviously pregnant
- The person is too large for you to wrap your arms around
- Abdominal thrusts cannot be performed effectively
- A person's disability or seating position makes abdominal thrusts difficult
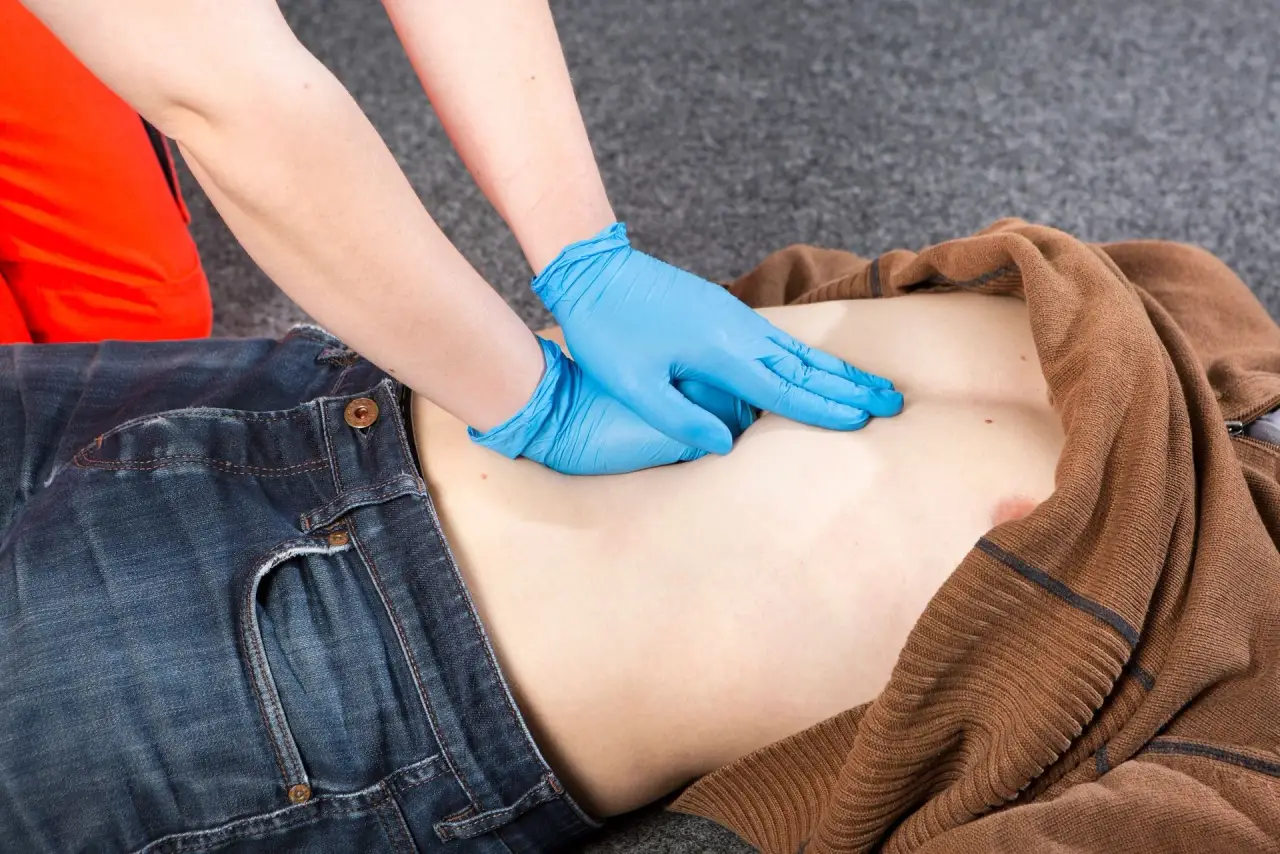
Place your hands on the center of the chest over the lower half of the breastbone and deliver quick inward thrusts. Your Red Cross or HSI instructor can demonstrate the correct hand placement and technique for different body types and situations.
Choking First Aid for Infants
An infant is a child under 1 year old. Infant choking care is different from adult and child care.
Never perform abdominal thrusts on an infant. Use back blows and chest thrusts instead.
Step 1: Support the Infant Face-Down
Sit or kneel if possible. Place the infant face-down along your forearm, using your thigh for support.
Support the infant's head, neck, and jaw with your hand. Keep the infant's head lower than the chest.
Step 2: Give Five Back Blows
Using the heel of your free hand, give five firm back blows between the infant's shoulder blades.
Check after each blow to see whether the object has been expelled. Maintain control of the infant's head and neck throughout the procedure.
Step 3: Turn the Infant Face-Up
If the object does not come out, carefully turn the infant face-up while continuing to support the head and neck. Keep the infant's head lower than the chest.
Step 4: Give Five Chest Thrusts
Place two fingers in the center of the infant's chest on the lower half of the breastbone, just below the nipple line.
Give five quick chest thrusts, using controlled pressure appropriate for an infant. Your instructor can show you the correct depth, position, and technique during hands-on practice.
Step 5: Continue the Sequence
Alternate five back blows and five chest thrusts until the infant:
- Begins breathing, crying, or coughing effectively
- Expels the object
- Becomes unresponsive
Have someone call 911 as soon as severe choking is recognized. If the infant becomes unresponsive, place the infant on a firm, flat surface and begin infant CPR according to your training.
If the Person Becomes Unresponsive
If a choking victim collapses or becomes unresponsive:
- Carefully lower them to a firm, flat surface.
- Call 911 or confirm that someone has called.
- Begin CPR, starting with compressions, according to your training.
- Before attempting rescue breaths, open the mouth and look for the object.
- Remove an object only if you can clearly see and safely reach it.
Never perform a blind finger sweep. Sweeping inside the mouth without seeing the object can push it farther into the airway.
Continue CPR until the person shows signs of life, another trained responder takes over, you are too exhausted to continue, or emergency professionals arrive.
After the Object Is Removed
Even if the person appears fine after choking, medical evaluation may be appropriate. Abdominal or chest thrusts can cause injury, and a small object may remain in the airway. Seek medical advice, especially if the person has ongoing coughing, chest discomfort, difficulty breathing, trouble swallowing, or unusual fatigue.
Why Hands-On Practice Matters
Reading about choking response is helpful, but emergencies are stressful. Hands-on practice helps you understand positioning, pressure, and the difference between adult, child, and infant techniques. Repeating the steps builds the muscle memory needed to act instead of freezing.
I offer professional First Aid and CPR/AED training with practical, real-world instruction through Code Blue Safety Skills. My mobile training comes to your workplace, school, daycare, fitness center, office, or organization throughout San Diego County, Temecula, Murrieta, Menifee, Lake Elsinore, Rainbow, and Rancho Murrieta. Blended learning options combine online coursework with an in-person skills session, giving participants flexibility while preserving the value of hands-on practice.
Learning choking first aid is one practical way to prepare for an emergency involving a family member, student, coworker, customer, or stranger. Stay calm, recognize the signs, call 911, and provide the care appropriate for the person's age.
Ready to get certified? View my First Aid & CPR courses or book a class today — I'll bring the training to you.
Sources: American Red Cross Adult/Child Choking, American Red Cross Infant Choking, HSI First Aid: Choking
Explore Topics
Written by
David Onori
David Onori is a Trained Emergency Medical Responder (EMR) and Red Cross & HSI certified CPR and First Aid instructor serving Temecula, Murrieta, San Diego, and surrounding Southern California communities. He is a member of the Red Cross Ready Rating Business program. Every class is taught onsite — he comes to you.